The external wort chiller
For $5 at Lowes, I built an “external wort chiller.” I’ve never seen any other homebrewers with this setup, so I figured I’d post my results on the internet. With only the standard wort chiller it takes about 30 minutes to cool our wort from boiling to yeast pitching temperature (85F for us). With the external chiller, it took just under 20 minutes. This may seem like a long time to you, but we live in the middle of a desert. Ambient temperature is often over 100F on a summer brew day.
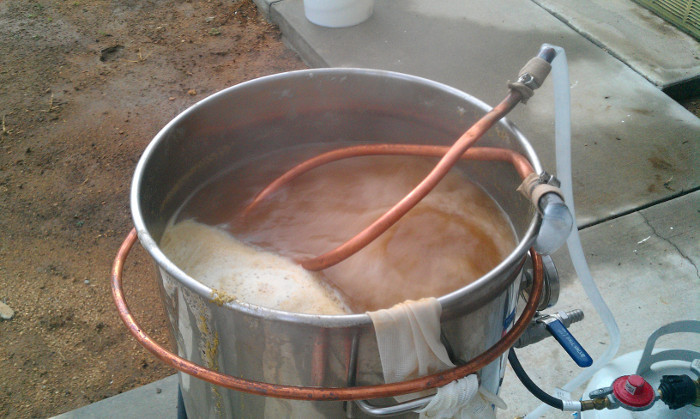
Here’s a picture of our full chiller assembly. The internal chiller is on the right, and the external chiller is on the left.

IMAG0392
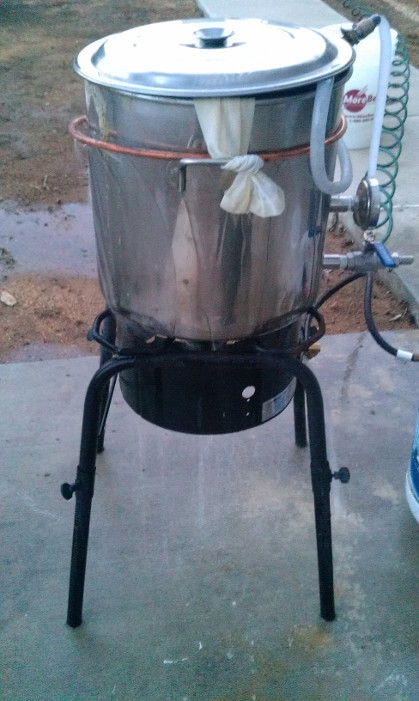
The external chiller just sits around the outside of the boil pot. The pot’s handles keep the coil in place:
IMAG0380
When we start the cooldown, water flows through the internal chiller, then through the external chiller. The external chiller has a number of holes cut into it. Water sprays out these hole and onto the outside of the pot:
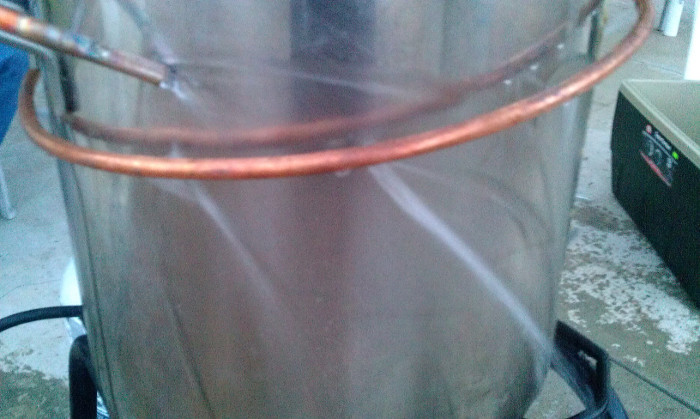
IMAG0387
This dramatically increases the surface area of water cooling. Heat is being transfered not just at the internal coils, but also along the whole pot. Here’s a zoomed out picture of the whole thing in action:
We only had to buy a 5 foot section of copper coil to wrap around the pot, and this cost about $5 at Lowes. I used a dremel to cut slots in the copper tubing about every 4 inches.
This external chilling reduced our cooling times from just over 30 minutes to just under 20 minutes. It was definitely worth the investment.